Spinning up Kubernetes with K3s and Rancher
Deploy Kubernetes with K3s and Rancher as cluster management on AWS Cloud
Kubernetes (K8s) is a powerful container orchestration engine that automates deployment, scaling, and management of containerized applications.
Like Linux, Kubernetes comes in several distributions that simplify installation and management. Some popular ones include:
- RKE2 (Rancher Kubernetes Engine 2) by SUSE
- MicroK8s by Ubuntu
- K3s by SUSE
- Minikube by Kubernetes Community
These distributions make it easier to get started compared to building a cluster from vanilla Kubernetes.
While Kubernetes offers rich features, managing everything purely through the CLI can be challenging. This is where dashboards come in handy — they provide an intuitive interface to manage deployments, pods, and other cluster resources.
K3s
K3s is a very lightweight Kubernetes distribution designed for environments with limited resources such as IoT devices, Raspberry Pi, or small edge clusters. It serves as a lightweight alternative to RKE2, offering nearly the same features but with a smaller footprint and simpler installation.
The main difference is that K3s uses SQLite as its default internal database, while RKE2 relies on embedded etcd. For production use, it’s recommended to configure K3s with an external database (e.g., PostgreSQL, MariaDB, or etcd) to achieve high availability (HA) and improved reliability.
Rancher
Rancher, developed by SUSE, is a powerful Kubernetes management platform that provides a feature-rich, user-friendly interface for cluster operations. With Rancher, you can easily manage deployments, pods, and containers across multiple clusters without dealing with complex CLI commands. It also supports installing extensions and Kubernetes add-ons directly from the dashboard, making it ideal for both experimentation and enterprise use.
Prerequisites
For this tutorial, we will deploy a single Kubernetes cluster with one master node and one worker node.
Requirements:
- 2 EC2 instances with at least 2 vCPU and 2GB RAM each (this tutorial uses
t3.small) - Linux OS (this tutorial uses
Ubuntu 24) - Root or sudo access on both instances
It’s recommended to run both EC2 instances in the same VPC (Virtual Private Cloud) or Virtual Network for optimal network performance and security.
Setup Security Group or Port Rules
According to K3s documentation, the networking rules are straightforward. The key differences are rules between master or control plane (server according to docs) node and worker (agent according to docs) nodes.
Below is the equivalent networking rules that apply to EC2 Security Groups. Additionally, we will open HTTP (80) and HTTPS (443) ports on the master node security group for Rancher Dashboard ingress to be accessed publicly.
1. Master Node (Server) Security Group
| Protocol | Port | Source | Description |
|---|---|---|---|
| TCP | 6443 | Worker Node SG | Kubernetes API Server |
| TCP | 6443 | Your IP/CIDR | Kubernetes API Server (kubectl access) |
| TCP | 10250 | Worker Node SG | Kubelet metrics |
| UDP | 8472 | Worker Node SG | Flannel VXLAN (if using Flannel) |
| TCP | 2379-2380 | Master Node SG | etcd client and peer communication (HA setup only) |
| TCP | 80 | 0.0.0.0/0 | HTTP (Rancher Dashboard) |
| TCP | 443 | 0.0.0.0/0 | HTTPS (Rancher Dashboard) |
| TCP | 22 | Your IP/CIDR | SSH (Administration) |
Outbound Rules: Allow all (or restrict to specific destinations for production)
2. Worker Node (Agent) Security Group
| Protocol | Port | Source | Description |
|---|---|---|---|
| TCP | 10250 | Master Node SG | Kubelet metrics |
| UDP | 8472 | Master Node SG | Flannel VXLAN (if using Flannel) |
| TCP | 22 | Your IP/CIDR | SSH (Administration) |
Outbound Rules: Allow all (or restrict to specific destinations for production)
I allowed all outbound rules for both security groups. For production environments, you should restrict outbound traffic to only necessary destinations (e.g., package repositories, container registries) for enhanced security.
Version Compatibility
Before installation, it’s crucial to understand K3s and Rancher version compatibility. K3s is frequently updated and usually runs one minor Kubernetes version ahead of Rancher dashboard support.
Current versions (as of October 11, 2025):
- K3s Release - Kubernetes v1.34.x
- Rancher Dashboard Release - Supports Kubernetes v1.31.12, v1.32.8, and v1.33.4
Rancher dashboard has strict Kubernetes version requirements. The K3s version must match the Kubernetes version supported by Rancher (same version or up to two minor versions below). For this tutorial, we’ll use K3s v1.32.8+k3s1 which includes Kubernetes v1.32.8, ensuring compatibility with Rancher v2.12.2.
Installation
Part A. Master Node Setup
First, connect to your master node VM via SSH.
Step 1. Update System and Edit Hostname
Update the system and set a descriptive hostname for easy identification:
1
2
sudo apt update && sudo apt upgrade -y
sudo hostnamectl set-hostname master
Verify the hostname change:
1
hostname
Step 2. Install K3s Server
Install K3s with the specific version required for Rancher compatibility:
1
curl -sfL https://get.k3s.io | INSTALL_K3S_VERSION="v1.32.8+k3s1" K3S_KUBECONFIG_MODE="644" sh -s -
Configuration flags:
INSTALL_K3S_VERSION: Specifies K3s version (required for Rancher compatibility)K3S_KUBECONFIG_MODE="644": Makes kubeconfig readable by non-root users
Verify K3s installation:
1
sudo systemctl status k3s
Step 3. Configure kubectl Access
Enable kubectl command auto-completion:
1
2
echo "source <(kubectl completion bash)" >> ~/.bashrc
source ~/.bashrc
Create kubectl config directory and copy kubeconfig:
1
2
3
mkdir -p ~/.kube
sudo cp /etc/rancher/k3s/k3s.yaml ~/.kube/config
sudo chown $(id -u):$(id -g) ~/.kube/config
Test kubectl access:
1
kubectl get nodes
You should see your master node listed with status “Ready”.
Step 4. Retrieve Node Token
Get the token needed for worker nodes to join the cluster:
1
sudo cat /var/lib/rancher/k3s/server/node-token
Save this token securely. You’ll need it to join worker nodes to the cluster. The token looks like:
K10abc123def456...::server:xyz789...
Part B. Worker Node Setup
Connect to your worker node VM via SSH.
Step 5. Update System and Edit Hostname
Update the system and set a descriptive hostname:
1
2
sudo apt update && sudo apt upgrade -y
sudo hostnamectl set-hostname worker-1
Verify the hostname change:
1
hostname
Step 6. Install K3s Agent
Join the worker node to your cluster using the token from Step 4:
1
curl -sfL https://get.k3s.io | INSTALL_K3S_VERSION="v1.32.8+k3s1" K3S_URL=https://<MASTER_NODE_PRIVATE_IP>:6443 K3S_TOKEN=<NODE_TOKEN> K3S_KUBECONFIG_MODE="644" sh -s -
Replace placeholders:
<MASTER_NODE_PRIVATE_IP>: Your master node’s private IP address (e.g., 10.0.1.10)<NODE_TOKEN>: Token retrieved from Step 4
Example:
1
curl -sfL https://get.k3s.io | INSTALL_K3S_VERSION="v1.32.8+k3s1" K3S_URL=https://10.0.1.10:6443 K3S_TOKEN=K10abc123def456::server:xyz789 K3S_KUBECONFIG_MODE="644" sh -s -
Verify the agent installation:
1
sudo systemctl status k3s-agent
Part C. Rancher Setup
Return to your master node VM, as kubectl commands are only executable from there.
Verify Cluster Status
Before installing Rancher, verify that both nodes are ready:
1
kubectl get nodes
Expected output:
1
2
3
NAME       STATUS   ROLES                  AGE   VERSION
master     Ready    control-plane,master   5m    v1.32.8+k3s1
worker-1   Ready    worker                 2m    v1.32.8+k3s1
Step 7. Install Helm Package Manager
Install Helm 3, which simplifies Kubernetes application deployment:
1
curl -fsSL https://raw.githubusercontent.com/helm/helm/main/scripts/get-helm-3 | bash
Verify Helm installation:
1
helm version
Step 8. Add Jetstack and Rancher Helm Repositories
Add the required Helm chart repositories:
1
2
helm repo add rancher-latest https://releases.rancher.com/server-charts/latest
helm repo add jetstack https://charts.jetstack.io
Update the repository cache:
1
helm repo update
Step 9. Deploy Cert-Manager
Cert-manager handles SSL certificate management for Rancher (Rancher enforces HTTPS by default):
1
2
3
4
5
helm upgrade -i cert-manager jetstack/cert-manager \
  --namespace cert-manager \
  --create-namespace \
  --set crds.enabled=true \
  --kubeconfig /etc/rancher/k3s/k3s.yaml
Wait for cert-manager pods to be ready:
1
kubectl get pods -n cert-manager --watch
Press Ctrl+C once all pods show Running status.
Step 10. Deploy Rancher
Choose your hostname strategy:
Option 1: Using sslip.io (No DNS required) If you don’t have a custom domain, use the free sslip.io service:
- Format:
<PUBLIC_IP>.sslip.io - Example:
54-123-45-67.sslip.ioorrancher.54-123-45-67.sslip.io
Option 2: Custom Domain If you have a domain, point it to your master node’s public IP via DNS A record.
Install Rancher:
1
2
3
4
5
6
7
helm upgrade -i rancher rancher-latest/rancher \
  --create-namespace \
  --namespace cattle-system \
  --set hostname=rancher.<YOUR_DOMAIN>.sslip.io \
  --set bootstrapPassword=<YOUR_STRONG_PASSWORD> \
  --set replicas=1 \
  --kubeconfig /etc/rancher/k3s/k3s.yaml
Placeholders:
<YOUR_DOMAIN>: Replace with your public IP (e.g.,rancher.54-123-45-67.sslip.io) or custom domain<YOUR_STRONG_PASSWORD>: Set a strong password (minimum 12 characters, mix of letters, numbers, symbols)
Example:
1
2
3
4
5
6
7
helm upgrade -i rancher rancher-latest/rancher \
  --create-namespace \
  --namespace cattle-system \
  --set hostname=rancher.54-123-45-67.sslip.io \
  --set bootstrapPassword=MySecurePass123! \
  --set replicas=1 \
  --kubeconfig /etc/rancher/k3s/k3s.yaml
Rancher uses
adminas the default username andcattle-systemas its namespace. You can change password after first login.
This deployment typically takes 3-10 minutes while certificates are generated and Rancher pods initialize.
Part D. Verify Installation
Step 11. Check Cluster Status
Monitor the deployment progress:
1
2
3
4
5
# Check all system pods
kubectl get pods -A

# Specifically check Rancher deployment
kubectl get pods -n cattle-system --watch
Wait until all Rancher pods show Running status and are READY (e.g., 3/3).
Step 12. Access Rancher Dashboard
Open your browser and navigate to:
1
https://rancher.<YOUR_DOMAIN>.sslip.io
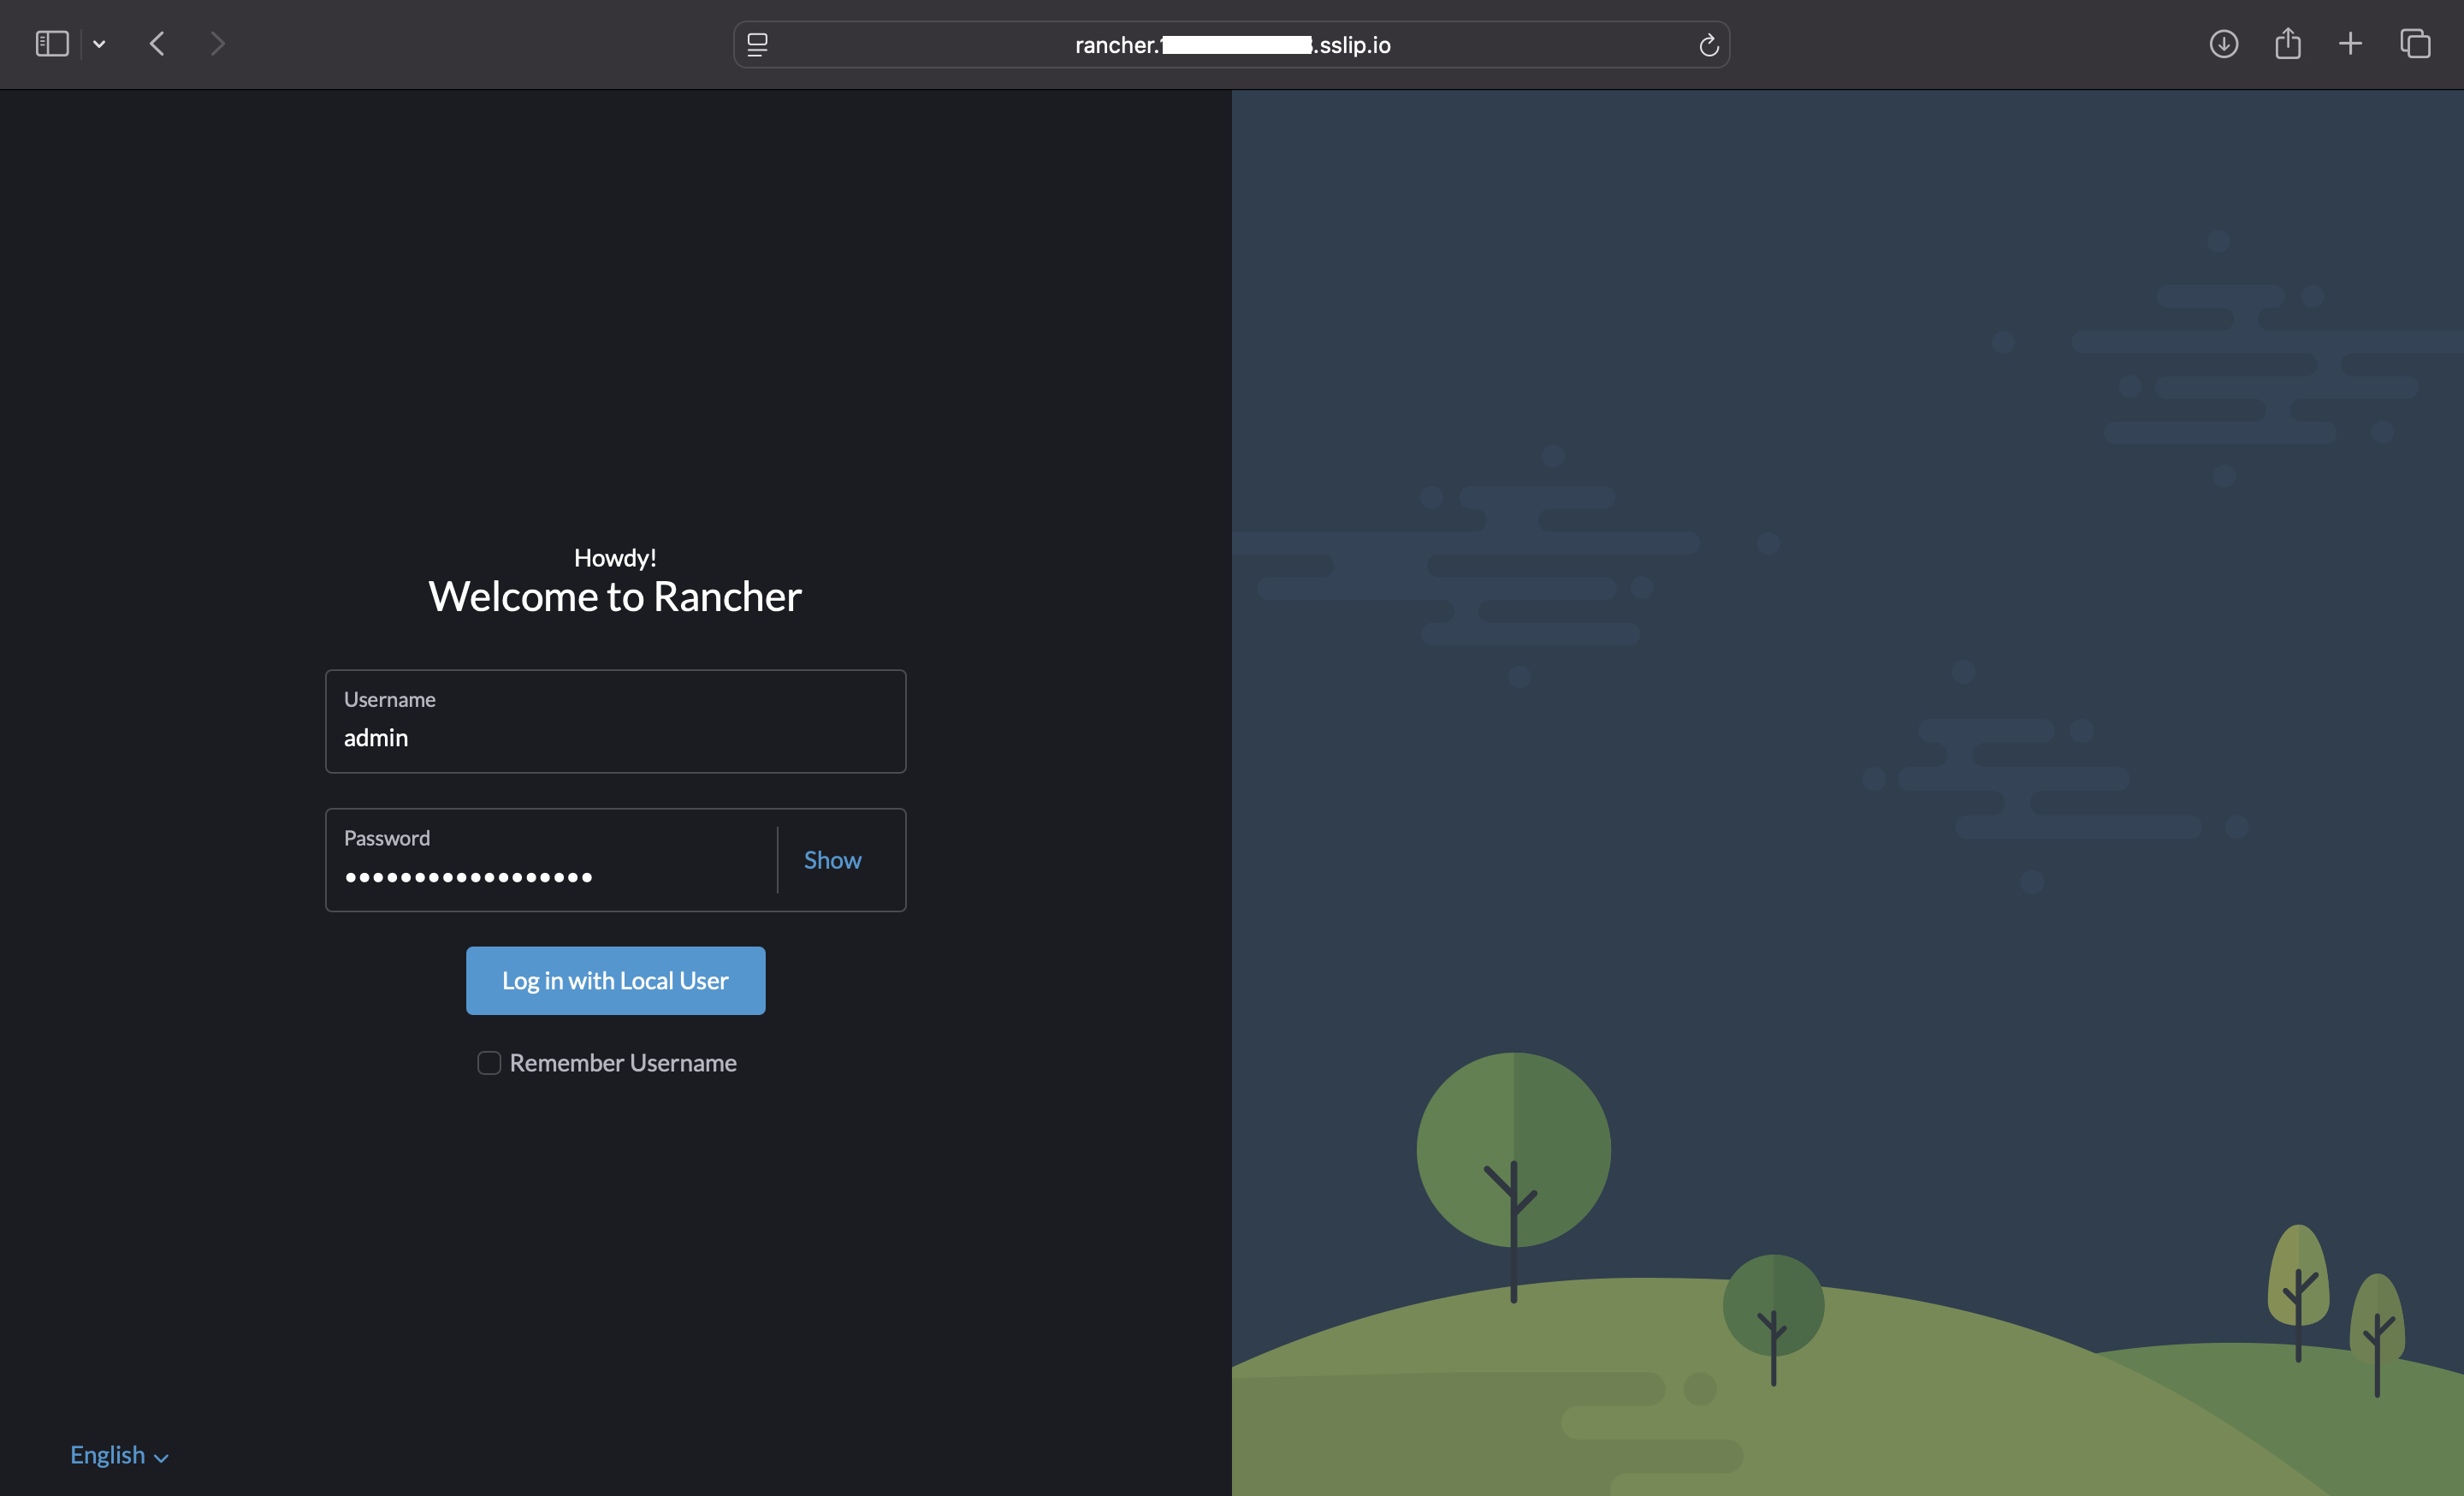
Login credentials:
- Username:
admin - Password:
<YOUR_STRONG_PASSWORD>(set in Step 10)
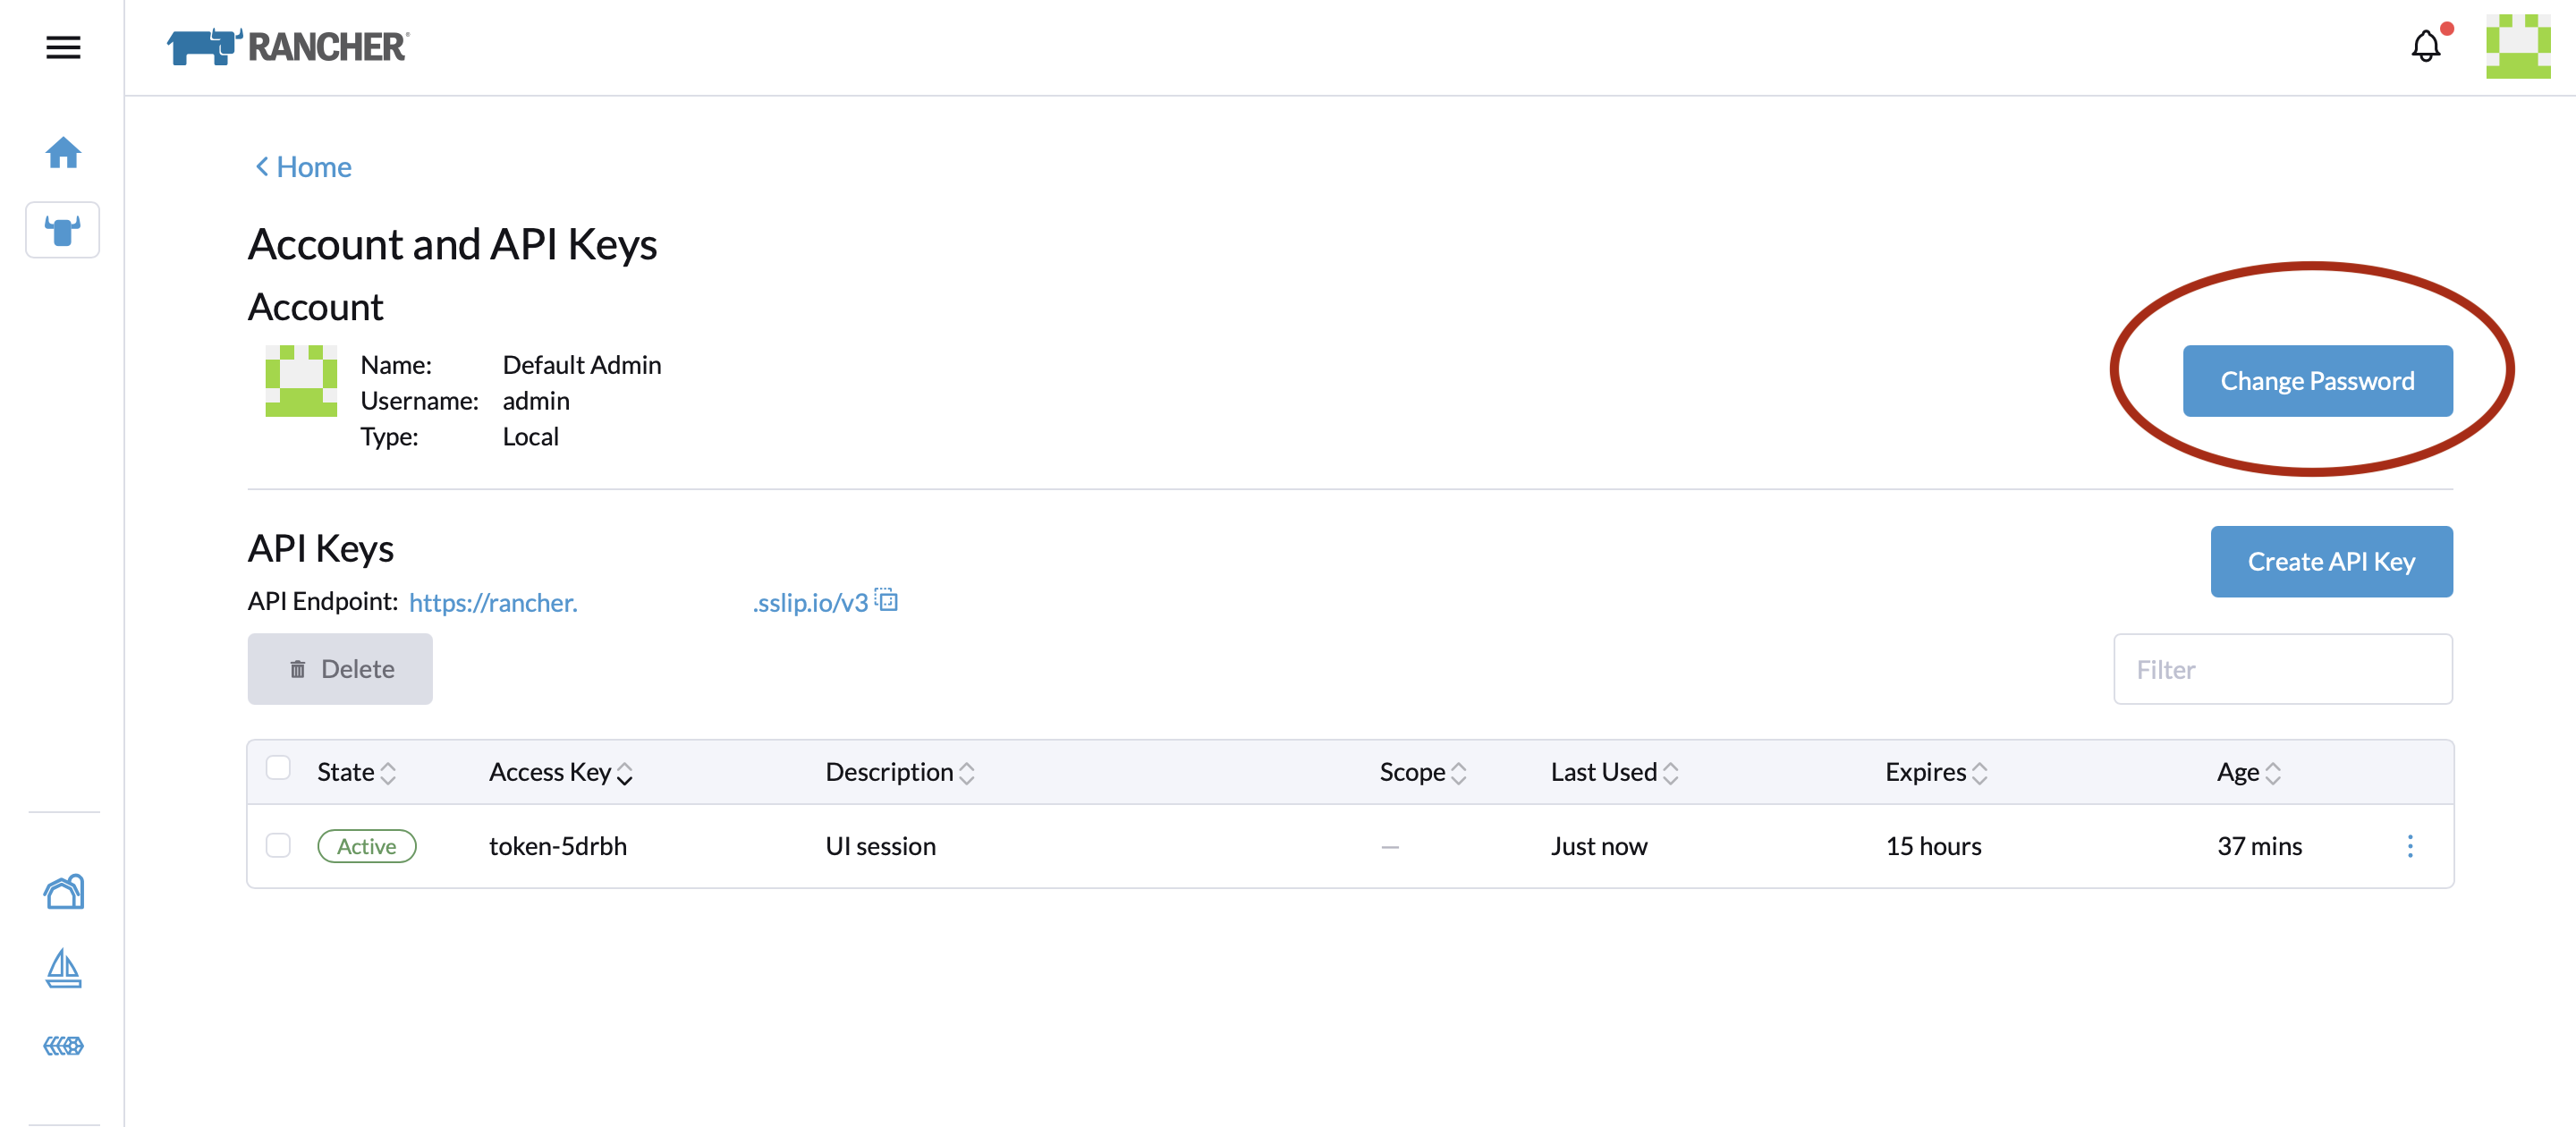
Immediately change the default admin password after first login to a unique, strong password. Navigate to: Account & API Keys → Change Password.
Post-Installation Security Hardening
After successful installation, consider these security improvements:
- Change Default Credentials
- Update the Rancher admin password
- Create additional users with appropriate RBAC roles
- Restrict Security Groups
- Limit SSH access (port 22) to your IP only
- Restrict Kubernetes API access (port 6443) to necessary IPs
- Consider implementing outbound traffic rules
- Enable Audit Logging
- Configure K3s audit logging for compliance
- Enable Rancher audit logs for API access tracking
Troubleshooting
Common Issues and Solutions
Issue 1: Worker node not joining the cluster
1
2
3
4
5
6
7
8
9
# On master node, verify token
sudo cat /var/lib/rancher/k3s/server/node-token

# On worker node, check k3s-agent logs
sudo journalctl -u k3s-agent -f

# Verify network connectivity
ping <MASTER_PRIVATE_IP>
telnet <MASTER_PRIVATE_IP> 6443
Issue 2: Rancher pods stuck in Pending state
1
2
3
4
5
6
7
8
# Check pod events
kubectl describe pod -n cattle-system <POD_NAME>

# Check node resources
kubectl top nodes

# Verify cert-manager is running
kubectl get pods -n cert-manager
Issue 3: Cannot access Rancher dashboard
1
2
3
4
5
6
7
8
# Check ingress status
kubectl get ingress -n cattle-system

# Verify service is running
kubectl get svc -n cattle-system

# Check pod logs
kubectl logs -n cattle-system -l app=rancher
Issue 4: Version compatibility errors
1
2
3
4
5
# Check current K3s version
kubectl version --short

# Check Rancher version
kubectl get deployment rancher -n cattle-system -o jsonpath='{.spec.template.spec.containers[0].image}'
Cleanup and Uninstallation
If you need to remove the installation:
Uninstall Rancher
1
2
helm uninstall rancher -n cattle-system
kubectl delete namespace cattle-system
Uninstall Cert-Manager
1
2
helm uninstall cert-manager -n cert-manager
kubectl delete namespace cert-manager
Uninstall K3s (Master Node)
1
/usr/local/bin/k3s-uninstall.sh
Uninstall K3s (Worker Node)
1
/usr/local/bin/k3s-agent-uninstall.sh
Conclusion
You now have a fully functional K3s cluster managed by Rancher. This setup provides a solid foundation for development and testing environments. For production deployments, consider implementing high availability with multiple master nodes, external databases, and comprehensive monitoring solutions.